CS2 Roster Updates 2025 | Post-Major Shuffle!
On the back of the PW Shanghai Major 2024 and the conclusion of the year’s Counter-Strike season, teams are getting ready to make their CS2 roster updates for 2025. Some have already made their moves – we’ll keep this page updated as and when the moves happen.
Latest Confirmed CS2 Roster Changes
These are the latest CS2 roster changes you need to know about if you’re following the esports scene right now.
BetBoom
- –nafany –KaiR0N-
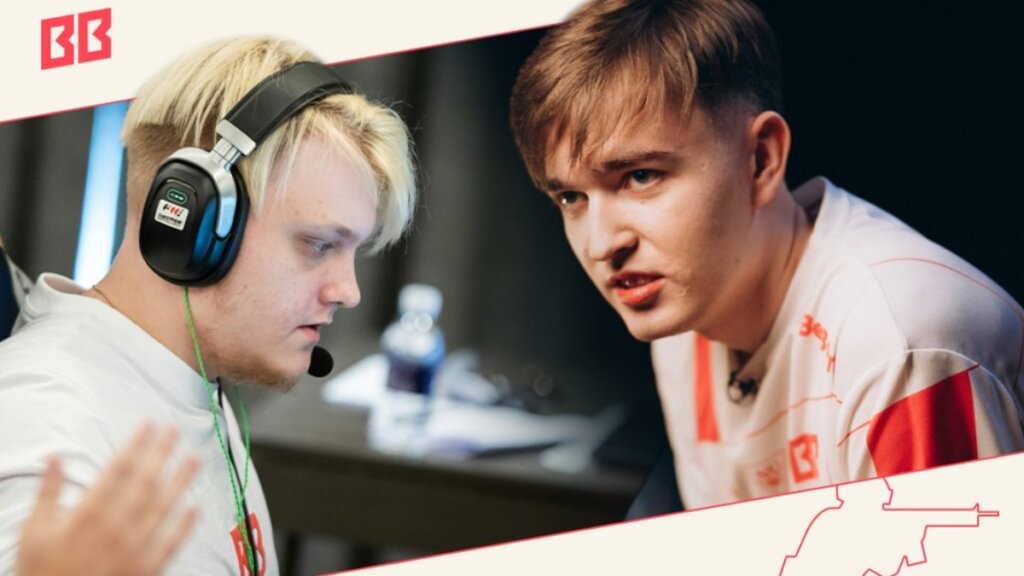
Credit: BetBoom
You can’t say that BetBoom didn’t give nafany a fair shot, but after two failures to reach the Major, they’re heading in a new direction. Expected.
BetBoom are:
- zorte
- s1ren
- Magnojez
BIG
- –rigoN –syrsoN

Credit: BIG
BIG have allowed rigoN’s contract to run down after a disappointing six-month stint with the German team. Outside of the PW Shanghai Major 2024, it was a tough run for rigoN, who is now a free agent. They’ve done the same with syrsoN, and you can understand why. They just think they can do a little bit better, which is fair enough.
BIG are:
- tabseN
- JDC
- Krimbo
Complexity
- –floppy

Credit: Complexity
Something had to give with Complexity‘s repeated failures. It’s a shame that it’s floppy, but he definitely needed a change in scenery. Turns out you can in fact stop the flop.
Complexity are:
- EliGE
- JT
- hallzerk
- Grim
Eternal Fire
- –Calyx
- +jottAAA
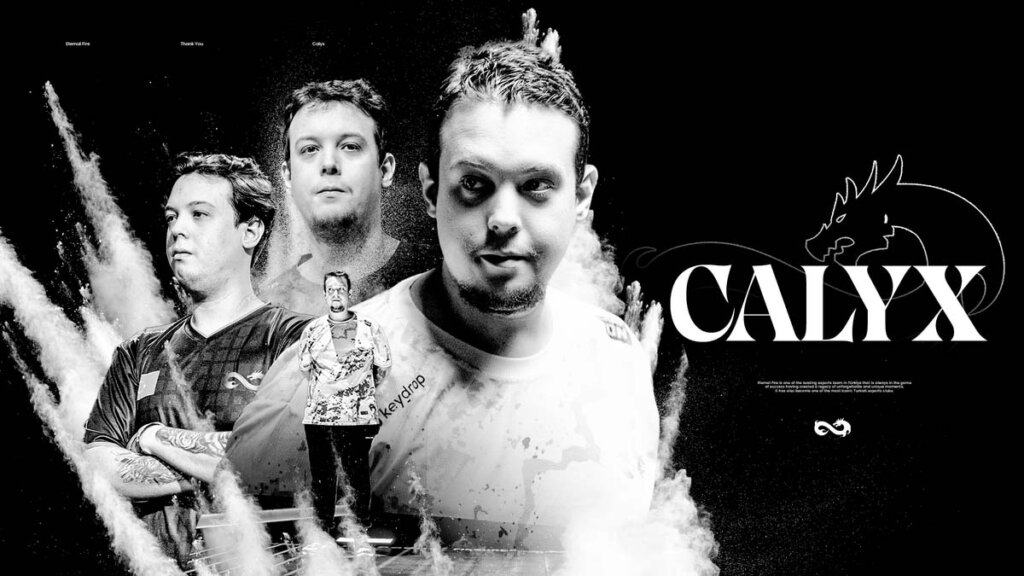
Credit: Eternal Fire
Eternal Fire have foregone loyalty for firepower and future-proofing. Calyx hasn’t done anything particularly wrong, but the chance to pick up a top Turkish talent like jottAAA feels like a no-brainer, and should pay dividends in results on the server. We like this move a lot.
Eternal Fire are:
- MAJ3R
- XANTARES
- woxic
- Wicadia
- jottAAA
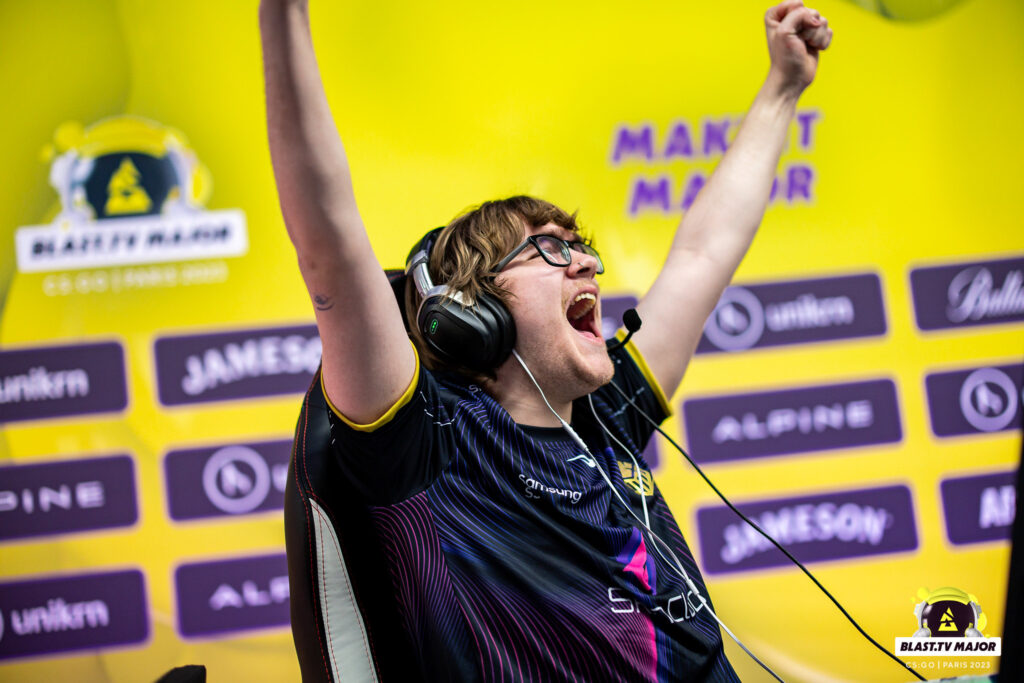
Falcons
- –s1mple –dupreeh –Snappi –Maden
- +NiKo +degster +TeSeS +kyxsan

Credit: Perfect World
After their dismal failure to qualify for the Perfect World Shanghai Major 2024 and an overall disastrous year, Falcons have benched nearly their entire CS2 roster with these changes. Only Magisk remains, with the team being put out of their misery, like an old dog being taken out and shot. That’s how bad they’ve been. They’ve followed it up with the superstar signing of NiKo, aswell as a core of Heroic players. We’re not sure the Heroic players are the long-term solution Falcons wanted, nor will it be the roster NiKo wanted. Still, it’s not as bad as it could’ve been.
Falcons are:
- Magisk
- TeSes
- degster
- kyxsan
- NiKo
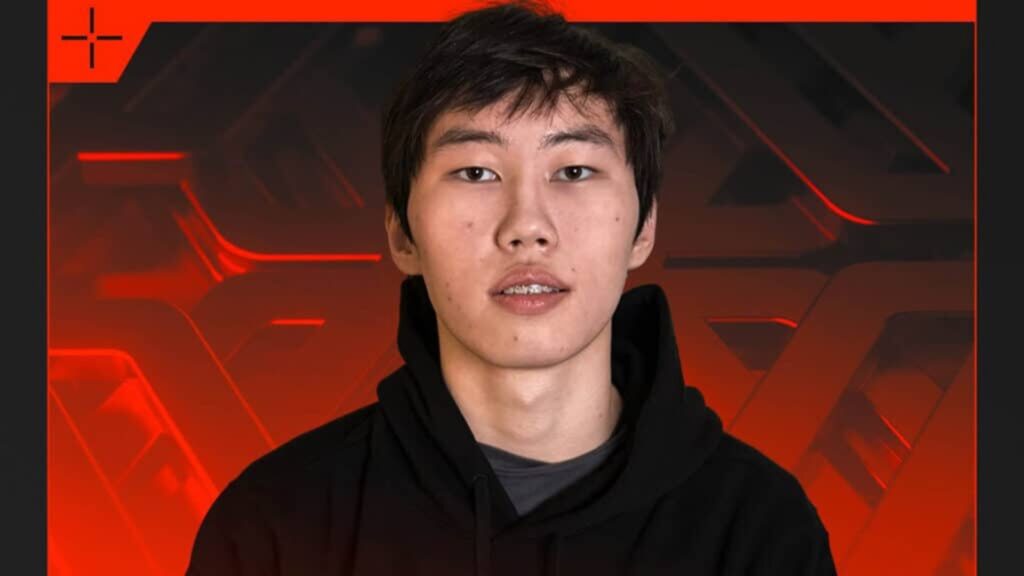
FlyQuest
- –aliStair
- +regali
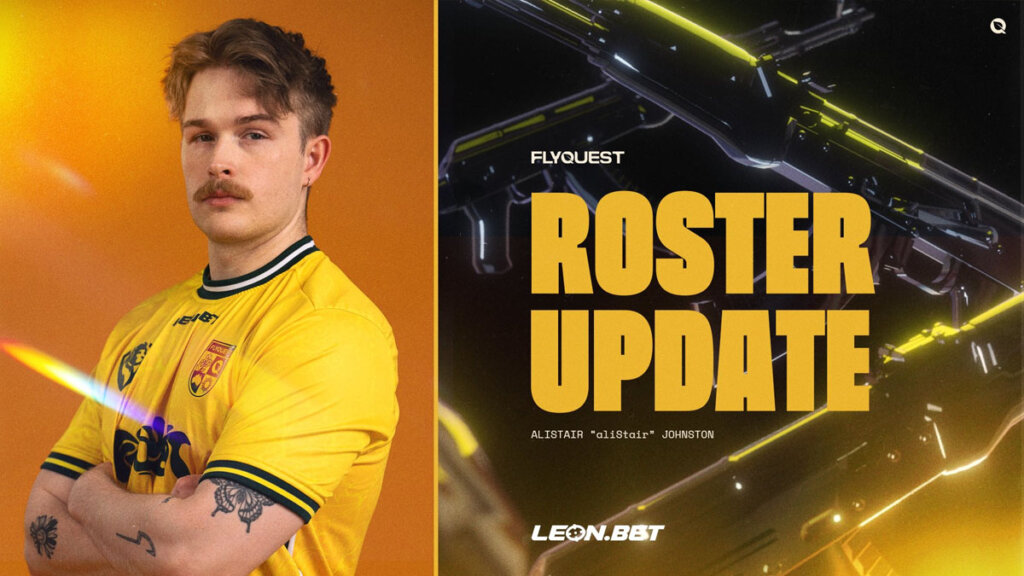
Credit: FlyQuest
Aussie AWPer aliStair has been the definition of inconsistency at FlyQuest. When he’s alive on the server, they won ESL Challenger Atlanta 2024. He just shows that level so infrequently that it has proven to be his downfall. They’ve gone EU with their AWP replacement in regali, but we’re not sure he’s a massive upgrade in this department. Time will tell.
FlyQuest are:
- INS
- dexter
- Vexite
- Liazz
- regali
Heroic
- –degster –kyxsan –TeSeS –NertZ

Credit: Heroic
Poor Heroic – picked apart again by another CS2 roster shuffle. They’ve lost four of their players so far, and with rumors about sjuush’s future being elsewhere, don’t be surprised to see a full new five for Heroic this coming year.
Heroic are:
- sjuush
Ninjas in Pyjamas
- –maxster

Credit: Ninjas in Pyjamas
Despite showing some promise, maxster just didn’t work out as an academy prospect for Ninjas in Pyjamas. As we’ve learned from other players, failure at NIP does not equal failure elsewhere. The Ninjas now search for a fifth.
Ninjas in Pyjamas are:
- REZ
- MisteM
- isak
- r1nkle
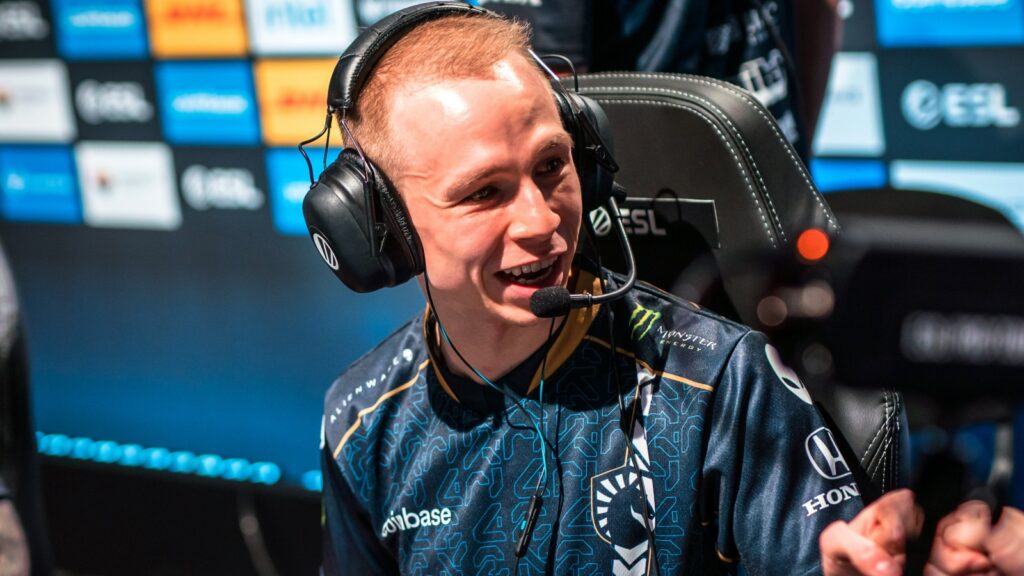
Team Liquid
- –YEKINDAR
- +NertZ
Credit: Team Liquid
Well, duh. YEKINDAR has been in bad form for a while on Team Liquid, and has probably been living on borrowed time since the start of 2024. He now looks for a new home where he can regain some individual confidence, which he hasn’t had in quite some time. As his replacement, Team Liquid have brought in NertZ, which is a properly excellent addition to the team. In terms of firepower, he’s a mega upgrade over the YEKINDAR we’ve seen over the last 12 months.
Team Liquid are:
- NAF
- Twistzz
- ultimate
- jks
- NertZ
TSM
- –niko –valde –sirah –Zyphon –acoR

Credit: TSM
The return to Danish roots hasn’t gone to plan for TSM. They’ve benched their entire CS2 lineup, and are likely considering their future in the game. Disaster.
TSM do not currently have a lineup after the latest CS2 roster changes.
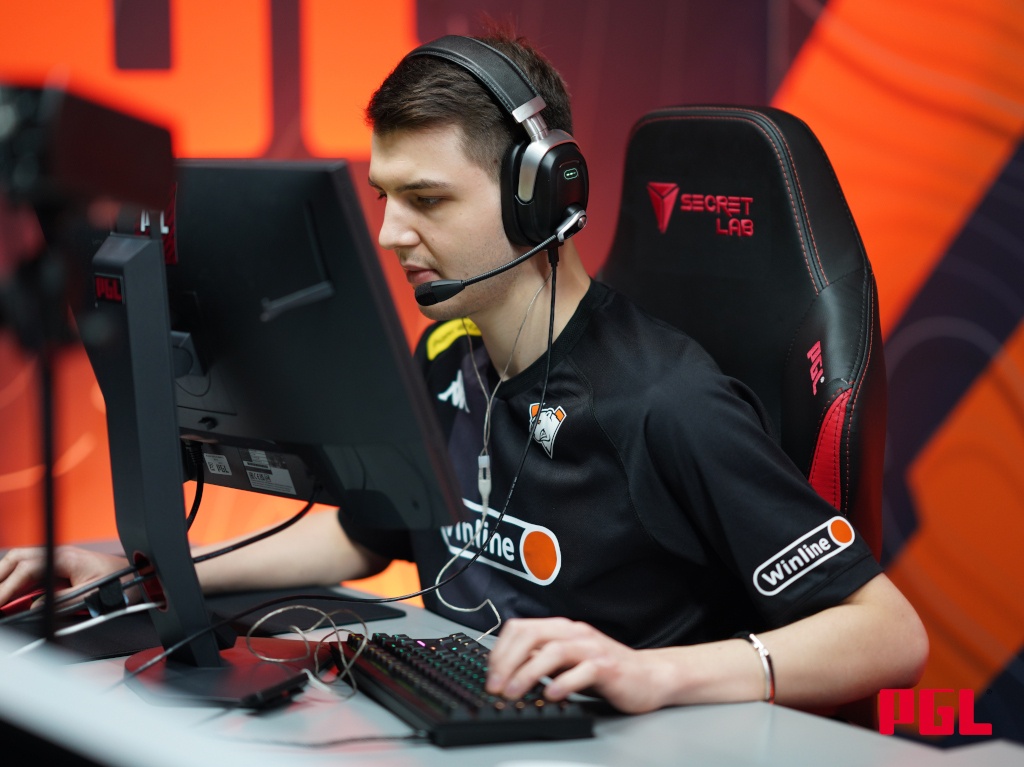
Virtus.pro
- –Jame –n0rb3r7
- +FL4MUS +ICY

Credit: Virtus.pro
Jame Time is officially over. The CS:GO Major winner has been benched from Virtus.pro after five years, marking the end of an era. He was quickly joined on the bench by n0rb3r7, which was a little more surprising. Still, we like the investment in young talent via FL4MUS and ICY, even if we’re really not sure electroNic should be IGLing again. If it doesn’t work out this time around, it could be the end of his Tier 1 career.
Virtus.pro are:
- fame
- FL1T
- electroNic
- FL4MUS
- ICY