Hanwha Life Esports take down Karmine Corp to win First Stand
Hanwha Life Esports have become inaugural First Stand winners after a 3-1 win against Karmine Corp. The Korean winners are the first-ever champions of the new tournament after winning against the EMEA side.
Karmine Corp stun in opening game
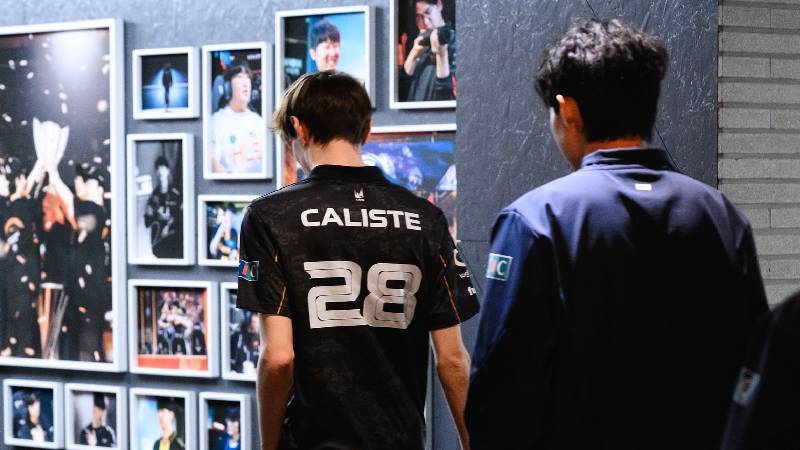
Image credit: Riot Games
Underdogs Karmine Corp were all but completely written off as potential champions ahead of the final but came out swinging in the opening game to match HLE throughout. A well-fought match saw the sides go back-and-forth before a teamfight win into baron put KC in control.
The team eventually closed out the game in 36 minutes to take the series lead and put favourites Hanwha Life on the back foot.
LCK winners fight back
HLE managed to keep their heads after the opening loss to carry out a slow, methodical victory in game two in order to level the series. The game, which had only 13 kills in 30 minutes, saw Hanwha Life dominate objectives and blocked their opponents from claiming even a single turret.
Game three was the polar opposite with 39 kills. The only similarity was HLE dominance, this time earning 28 kills and almost blocking KC from earning any objectives once again as the French side managed only a single turret and Void Grub.
Hanwha Life Esports become champions
By game four, the wind had been knocked out of Karmine Corp and Hanwha Life was in complete control. A 6k gold lead was accrued by 20 minutes. By minute 36, HLE destroyed KCorp’s nexus to become First Stand winners. It came almost as our First Stand predictions stated before the event. HLE was indeed the superior team against all other regions at this event and head and shoulders above the competition.
Zeka named First Stand finals MVP

Image credit: Riot Games
At the conclusion of the series, HLE’s Zeka was crowned series MVP. The Korean mid laner claimed an impressive 23/7/26 scoreline and was instrumental in seeing the organisation earn its first-ever international title.