Napoli joins EA FC with Danipitbull for 2025 season
After the end of the partnership with Konami, Italian football club Napoli SSC is ready to enter the EA FC esports scene alongside former eSerieA champion Danipitbull.
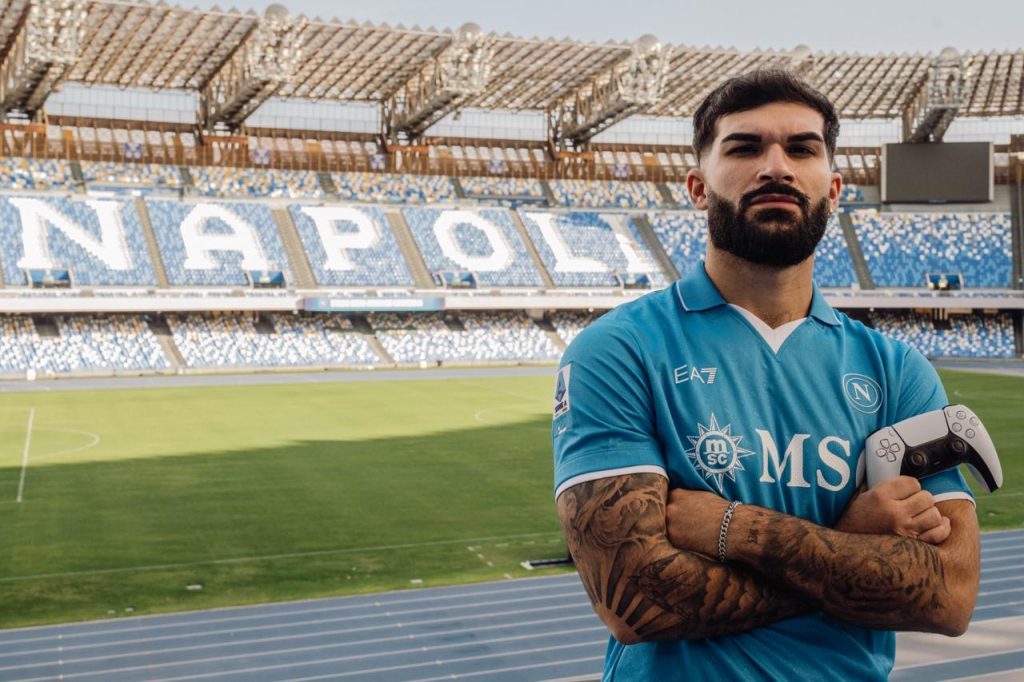
Image Credits: SSC Napoli
Napoli x Danipitbull – A big signing for the 2025 season
Napoli has finally entered the EA FC esports ecosystem after several years of collaboration with Konami and eFootball.
The football club has been increasing its investments and efforts in the scene, having signed an exclusive partnership with EA Sports and local idol and rapper Geolier becoming one of EA Sports FC 25’s ambassadors. Signing the esports player was the last move to complete the puzzle, and Napoli decided to go big immediately.
The 2023 eSerieA champion wearing new colors
In the end, the chosen one ended up being Danilo “Danipitbull” Pinto. The Italian player from Taranto spent the last two years playing for Juventus FC, winning the title two years ago and finishing in the top four last year, with a top 8 finish in the eChampions League.
“I’m proud and thrilled to be an integral part of this new project,” said Danipitbull in his first statement as a Napoli player. “I can’t wait to get started and experience the passion of Napoli’s fanbase firsthand. I hope to bring plenty of joy to our supporters.”
The player was recently signed by the Italian organization NOVO Esports, which has already competed in the EA FC esports ecosystem in the LaLiga with CD Eldense.
Danipitbull debuted on Friday, December 6, in the 2024 eSupercup. Despite the initial expectations of coming in as a main contender, Danipitbull wasn’t able to compete in the grand final, as the showdown went between Monza and Juventus, led by Hhzers and Ollelito, respectively.
The journey, however, has only just begun, as Danipitbull will have more opportunities coming up in the eSerieA and FC Pro World Championship.