Who Is Loserfruit? Full Profile, Settings & History Of The Twitch Streamer

Whether you’re new to Fortnite or have been playing since day one, chances are you’ve come across the name Loserfruit. But who is she exactly? Widely recognized as one of the game’s most prominent female Twitch streamers, she has become a household name whose influence now stretches well beyond the game.
This guide will walk through everything you need to know about Loserfruit, from her early days on YouTube and Twitch to the career milestones that made her one of the most celebrated figures in Fortnite.
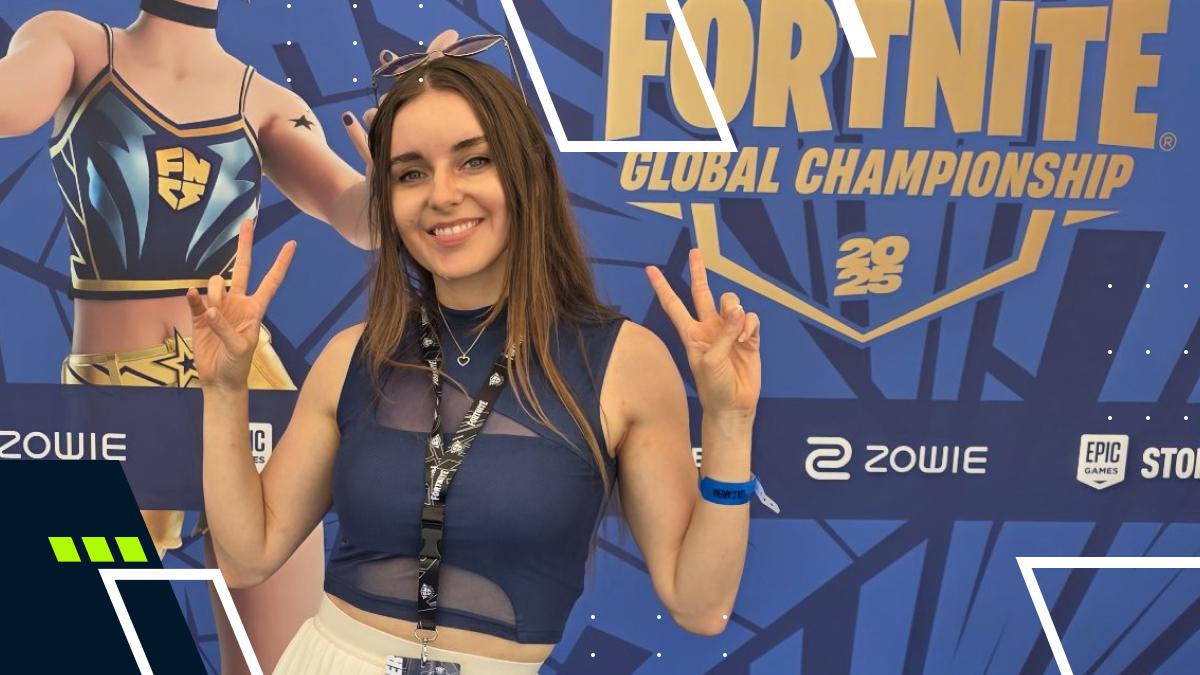
Image source: Loserfruit / X
Who Is Loserfruit?
Kathleen “Loserfruit” Belsten is an Australian streamer who has firmly established herself among the most recognized names in gaming. With a combined following of over 8.6 million fans across Twitch and YouTube, she stands shoulder-to-shoulder with powerhouses like Pokimane, Lilypichu, and Amouranth.
Loserfruit’s popularity is no fluke, either. Her rapid rise to stardom was fueled by her lively Fortnite streams, which blended high-level gameplay with her trademark comedic flair. This led to her being immortalized in-game with her own Loserfruit Icon skin—the sixth ever after Marshmello, Major Lazer, Ninja, Travis Scott, and Astro Jack.
These days, Loserfruit’s content extends far beyond Fortnite, covering all kinds of gaming events and community projects. She even dabbles in other games like Overwatch 2, Borderlands 4, and Marvel Rivals. Beyond that, Loserfruit spends a fair bit of time engaging with fans in Twitch’s “Just Chatting” section.
Loserfruit’s History & Career Milestones
Loserfruit’s journey as a content creator began in March 2013, when she launched her Twitch and YouTube channels. Initially focused on creating satirical League of Legends content, she reinvented herself over the years, moving between Minecraft, Overwatch, and eventually settling on Fortnite by the end of 2017.
Discussing her decision to retire her League content, the Australian creator said the spark had faded and that other games brought more enjoyment and success. At the time, Fortnite was also still new, offering ambitious creators like Loserfruit an opportunity to make a name for themselves in the gaming scene.
Not long after that, her channel exploded in popularity. In 2017, Loserfruit’s Twitch channel had around 430,000 followers, but by June 2019, her audience had more than doubled, surging to 1 million. Just over a year later, she hit the 2 million milestone, shortly before Epic Games released the Loserfruit skin.
Alongside her creator career, Loserfruit has also participated in Fortnite events, including the Celebrity Pro-Am in 2018 and 2019 (she placed 10th and 17th, respectively) and, more recently, FNCS 2025 Pro-Am (placing 18th). In 2021, she joined the esports organization Team PWR as a Fortnite content creator.
Loserfruit Net Worth & Earnings
Loserfruit has not publicly disclosed her income, but sites like YouTubers.me estimate her net worth to be around $3-4 million. This figure is uncertain, though, given her multiple revenue streams across Twitch, YouTube, and brand partnerships (e.g., she’s an official GymShark athlete).
Alongside these earnings, Loserfruit has also raked in $31,665.50 from competitive events, according to EsportEarnings.
How To Watch Loserfruit
Loserfruit keeps her content relatively centralized, so you don’t have to visit too many pages to find everything she has been up to. Loserfruit’s Twitch is her go-to for live content, with over 3 million followers. Beyond that, she regularly uploads videos on her YouTube channel, which currently has over 5.6 million subscribers.
To stay connected with Loserfruit, you can also follow her on her social media pages:
Loserfruit’s Fortnite Settings & Gaming Setup
Unfortunately, Loserfruit doesn’t have any publicly listed Fortnite settings. She also hasn’t spoken about her gaming setup, either. We do know she uses the “simple edit” setting, though, which might come as a shock to some fans, as it somewhat automates editing, while giving up precise control.
FAQs
How did Loserfruit get her name?
Loserfruit got her name when she joined a clan with her friends. The clan was fruit-based, and she found the idea silly, jokingly choosing ‘loserfruit’ as a playful identity.
When did Loserfruit get her skin?
The Loserfruit Fortnite Icon skin was released on June 22, 2020.
Is Loserfruit in PWR?
Yes. Loserfruit has been a content creator for PWR since September 25, 2021.
What are Loserfruit’s earnings?
According to Esports Earnings, Loserfruit has earned $31,665.50 from competing in Fortnite. She keeps her other earnings private.
What is Loserfruit’s real name?
Loserfruit’s real name is Kathleen Belsten.
How old is Loserfruit?
Loserfruit’s age is 32. She was born on February 22, 1993.
How many VBucks is Loserfruit?
The Loserfruit icon skin costs 1,500 V-Bucks.
References
- Youtubers.me (Youtubers)
- LoserFruit – Female Fortnite Player Profile (Esports Earnings)
- LoserFruit on Twitch (Twitch)
- Loserfruit – YouTube (YouTube)
- LoserFruit on Instagram (Instagram)
- LoserFruit on X (X)